Showing posts with label beauty. Show all posts

Monday, 21 September 2015

Coloristiq Manicure Box Review*

The company Coloristiq is an online nail polish rental service, however they've recently ventured out into producing a monthly manicure box (with polishes you get to keep), which includes a specific theme every month. Monthly beauty boxes are very popular these days, with companies such as Glossybox and Birchbox being popular amongst beauty bloggers. 

I received September's box called "Nails and the City", which includes four vibrant colours relating to "bright lights, shopping opportunities and stunning buildings" that can be found in the cities London, New York, Venice and Budapest. By having a specific theme, you can be sure of receiving a variety of polishes that complement each other.

There is no need to subscribe to this service, you can just buy one box if you like the theme/colours included. Buying this box allows you to try the newest polishes from a range of popular collections (and some up and coming British indie polishes). It works out a lot cheaper! This box is only £15.00, even though it's worth more than twice as much.


 Bluedapest by Danglefoot

"Handmade and mixed at home in Norfolk, these polishes use the best 5-free non-toxic ingredients to create amazing shades, shimmers and holographic effects." 

Danglefoot is the featured indie brand for the September box, and this gorgeous baby blue colour is a limited edition polish, just for this box! Although you need two coats to make it a solid colour, the gold shimmer makes it stand out and glides on the nail smoothly and consistently.

Inspired by Budapest's "thermal springs located in the city park" and "represents the beauty of Hungary's capital city. This indie polish has gold flakes and a scattered holographic finish". Check out their other nail polishes, there are plenty of other shimmery colours to choose from.

♥ My Gondola or Yours? by OPI

Everyone needs a black nail polish! You definitely need two coats AT LEAST with this polish, otherwise it remains a grey, transparent colour. If I'm honest, I've had better black nail polishes that more vibrant - this one is more charcoal, so if that's the type of colour you're looking for, this is perfect.

This polish is one of four mini polishes from OPI's latest collection. Inspired by Venice, the set includes "shimmery copper shades to pastel melon tones, each bottle exuberates elegance." 

 Fifth Avenue by Essie

This nail polish out of all of them is the most bold (and probably my favourite!) You only need one coat to get the most out of the colour, which is a gorgeous coral red. The wide brush helps the polish glide on easily, making sure to paste the colour onto every part of your nail.

Inspired by New York, this Essie polish stands out with its feminine, elegant shade.

 The Mall by Nails Inc London

I love the metallic finish of this polish. The colour is very solid, meaning you could get away with just applying one coat (which saves time!) However, I found that it does chip within a couple of days, but the colour is beautiful so definitely worth a buy.

This Nails Inc polish is inspired by London: "Inspired by the Royals, this midnight blue shimmer captures the rich culture that this capital city has to offer."


Overall, I found that every polish has a great application; the formula glides on easily without becoming sticky and dries fairly quickly.

You can buy the September Manicure Box here.
You can also browse the other boxes available here.

Thanks for reading!

Wednesday, 9 September 2015

A Little Skincare Haul


As someone who has been suffering with a fair few spots recently, I was on the lookout for some new skincare products that will clear my face of bacteria and keep my spots at bay. I like to switch up my skincare routine now and again; I think the majority of people do this whilst they search for the "perfect" product (I'm yet to find it!) 

Whilst I was in Boots the other day, I decided to try the Clearasil Hydra-Blast Gel Wash for £2.99 and the Clearasil Deep Cleansing Toner for £3.99 from the Daily Clear product line. I also picked up the Olay Complete 3in1 Moisturiser Night Cream for £9.99, as I had used the last of my Olay day cream, and wanted to give the night time one a go.

Clearasil Hydra-Blast Gel Wash
I tend to use this in the morning when I wash my face. It helps get deep into your pores, giving your face a thorough jet wash before you start your day. It tightens your pores and makes your face feel quite tight, so I recommend moisturising afterwards to get rid of that "botox" feeling.

It smells fresh due to its cucumber extracts and aloe vera ingredients, which are gentle on the skin and it has helped keep my breakouts down these past couple of weeks. It lathers up only slightly, which I love, as I hate getting bubbles all up my nose and in my eyes haha!

Clearasil Deep Cleansing Toner
I use this at the end of the day after I shower to remove any makeup left on my face. Again, it tightens your pores and makes your face feel dry (perhaps due to the alcohol content), so make sure to moisturise afterwards. I pour a few drops onto a cotton wool pad and wipe across my face, which helps remove any oil, dirt and bacteria that have gathered on the surface of my skin throughout the day.

Olay Complete 3in1 Night Cream
I like to put a thick moisturiser on before I go to bed to help my face recover from the moisture lost during the day and to allow my skin to absorb the cream overnight and keep my skin looking fresh. The somewhat magic three-in-one formula helps to hydrate, nourish and protect, supplying 24 hour moisturisation due to the anti-oxidants and a variety of vitamins (I don't have a clue what they mean, but they must do a good job!)


Have you tried these products?
Or have you discovered the perfect skincare products for your skin?

Thanks for reading!

Wednesday, 26 August 2015

How To Correctly Remove Mascara

Having mainly worn waterproof mascara for the past few years, I know first hand of the struggle it can take to remove the stubborn black formula from your eyelashes before bedtime. Especially if, like me, you like to put coat on top of more coats to make sure you get every single eyelash to look thick and long.

One thing you shouldn't do is rub your eyes viciously with a facial wipe, as the skin around your eyes is very sensitive, and by pulling on it you can loosen the natural elasticity underneath, resulting in wrinkles (I had previously done this for a few years, so I'm expecting to look 60 very soon ;)!!)

So I have composed a few tips to help you remove mascara in a safe, pain-free way.

♥ Decide which product you want to use; I recommend trying a variety to find what works best for you and your skin. 

♥ You can use an oil (such as coconut oil) to remove your mascara, by soaking it in a cotton wool pad and applying it to your closed eye.

♥ You can also use a cleanser/makeup remover (using cotton wool pads), by holding the pad onto your closed eye until the makeup has began to dissolve, and then by gently rubbing in a downward motion.

♥ But be very careful with this method, as you don't want to be getting anything in your eyes - it's a very sensitive area, so make sure you're not allergic to any of the products first!

♥ If you still have some mascara left on that refuses to come off, take a facial wipe that is alcohol free (I don't recommend this if your eyelashes are prone to fall out; this is just what I personally do, as I don't like to get the tiny hairy fibres from cotton wool stuck to my eyelashes).

♥ Place the wipe between your fingers and gently grab your eyelashes with it, whilst slowly rubbing. Be very careful, as you don't want to lose your eyelashes, but sometimes this is the only way you can get it off.

♥ You can also use the wipe to swipe your eyelashes as though you're applying mascara, which will help to remove it.

♥ After you're done, clean up any oily residue you may have and apply your favourite eye cream underneath and around your eyes, in case you have slightly tugged on your sensitive skin.


What method do you use to remove stubborn eye makeup? 
Do you disagree with the use of wipes?

Thanks for reading!

Tuesday, 30 December 2014

You've Got To Love Lush

Ahh, Lush! Lush products just make the perfect Christmas gift for girly girls, don't they?! Well not just Christmas - birthdays too, Valentine's day, maybe Easter, Halloween... (okay, maybe not). It'd be great if you received presents for all of them, wouldn't it? ;)

So I received the Lush "Christmas Candy Box" for Christmas and I tried to make the photo look Christmassy by chucking a bit of tinsel around the products (did it work?!) In the box, I received four items. I think most (or all) of these items are just available around Christmas time, so they may be hard to come by during the year - but they may still be available in the sale that's currently on at Lush, so get yourself there if you want to pick up any of these items for a much cheaper price.


1 Snow Fairy Shower Gel
Unfortunately, I can't link this product to the Lush website because it's only available around Christmas, but like I said before there may be some still available in the sale. This has such a sweet, candy scent (steer clear if you hate super-sweet scents!) The bright pink colour combined with the glittery bits makes the appearance really pretty and the smell reminds me of candy floss!

 2 Candy Mountain Bubble Bar
Hahaha, it made me laugh when I saw this; obviously something went wrong in the production or something seeing as it's lopsided, but it'll still work nonetheless! ;) Another sweet scent, this mainly smells of bubblegum. If you don't know how to use a bubble bar, you basically crumble it in your hand under running water and your bath then becomes filled with all these vanilla-scented, pink bubbles. I've had this before and I can't wait to use it once again. Again, it's not available through the website as it's a Christmas special, but you may be able to pick it up in the sale.

 3 Butterbear Bath Bomb
How cute is this? It's basically the ever-so popular Butterball (that's available all year round) but molded into a little bear shape. Made with cocoa butter, it's supposed to leave your skin feeling incredibly soft - it apparently also leaves a vanilla scent on your skin! I can't wait to have him in my bath hehe!


 4 Rock Star Soap
Now the "Rock Star" soap is available all year round -yay!! Again, it smells sooo sweet as it has vanilla running through it. The creamy texture persuades me into believing it'll be moisturising and quite similar to the 'Butterbear', so I'm looking forward to using this! Plus, seeing as it's a soap I'll probably get a few uses out of it.

I might update you either through my blog, Twitter or Instagram on how I got on with these products once I've used them, so look out for that if you're interested in knowing!

Are there any classic Lush products that are your all-time favourite?
Let me know in the comments :)

Thanks for reading!

Thursday, 16 October 2014

Big Fat No! BlanX White Shock Review


I've been searching high and low for a good, reasonably priced teeth whitening treatment for months now so when I saw this in Boots, I couldn't help but pick it up as I was eager to try it. My teeth aren't particularly 'Hollywood white', I wouldn't even say they're white at all; they're verging on yellow, which I absolutely hate! I've cut down on coffee, fizzy drinks and teeth staining food, but I've found that it hasn't made much of a difference. It makes me self conscious to smile! After seeing the BlanX White Shock toothpaste on the shelf in between the other more expensive products, I decided to give this a go as a sort of starter, as I didn't want to spend too much.

Not only do you get a whitening toothpaste, but you also get a blue LED light which you screw onto the end of the tube, which is a sort of accelerator to help whiten your teeth. The light activates when you take the cap off, which you then use by squeezing the toothpaste onto your toothbrush. It's supposed to "multiply the whitening action". The Actilux which is present in the toothpaste formula is meant to remain on your teeth throughout the day, without the substances that can harm your teeth and gums as it doesn't contain peroxide. Not only is it non-abrasive, but you can use it like a normal toothpaste, without worrying about it being harmful to the surface of your teeth.

It claims to brighten your smile by being activated by the natural light present during the day, which means that "the more you smile the whiter your teeth will be". The Actilux naturally helps whiten your teeth by removing bacteria, making them feel clean throughout the day.

Now after using this for two-three weeks, I don't entirely understand the fuss. The tube is only 50ml, therefore I'm nearly out of it already and for £7.50, I don't think I'll be purchasing it again as it hasn't made as much a difference as I'd hoped. The toothpaste doesn't seem to lather up much (which fools me into having to use more!) I also don't like to use it on its own as it doesn't feel like it cleans my teeth as much as a regular toothpaste does. I find the LED light a bit of a gimmick (it doesn't seem to make much of a difference - plus I don't see how a light can whiten your teeth?! I don't know.)

It may work for you, as I've seen positive reviews on this from other people, but for me it's a big fat no! It only seems to work after being applied - it definitely doesn't last all day!


Have you tried this? Let me know what you think.

Also, are there any whitening products that you could recommend that work absolutely amazingly well?! Haha, like the strips you can buy or even another toothpaste (one that I won't end up wasting my money on!)
Leave a comment below; I'd love to know!

Thanks for reading!

Saturday, 4 October 2014

Gift Idea: The Body Shop White Musk


It was my birthday last week and I was lucky enough to receive something that I'd wanted for quite a while - some perfume from The Body Shop! I received this heart-shaped gift set (I'll definitely be keeping this box - I'll end up finding something to keep inside; I'm a pretty box hoarder!) It contains the White Musk Fragrance Mist, Body Lotion and Eau De Parfum.

I love a good gift set from The Body Shop; especially ones where you get the little loofah with a couple of mini bath/shower products! I love the musky scent to this and I've been using the eau de parfum for special occasions or nights out, as I find it's long lasting (I can still smell it hours later!) The fragrance mist is great for topping up during the day and the body lotion gives an all over lasting scent to the skin; it has a light formula and soaks into the skin really fast, so it's great to use in a morning (it also leaves your skin feeling incredibly silky!)

White Musk is described as being a 'sensual' fragrance, including notes of musk with rose, jasmine, amber, wood, lily, iris and vanilla. The fragrance is a classic scent from The Body Shop, making it one of its most popular perfumes (I can see why!) It's not too pricey and it would make a perfect gift for Christmas! (I think most girls would be happy with a Body Shop gift set to be honest!)


What's your favourite product/scent from The Body Shop?

Also check out:
 https://www.vouchercloud.com/the-body-shop-vouchers

They have some great vouchers that will get you money off at The Body shop!

Thanks for reading!

Saturday, 16 August 2014

Maybelline: The Rocket Review


Mascara is a main priority when it comes to my everyday makeup routine; it's the number one product that I couldn't live without (as my natural eyelashes are very blonde!) I need to make sure I coat each individual lash (without clumps!) For me, mascara is all about the brush as it determines what kind of lashes you will end up with. When I'm buying a mascara, I like to browse Boots, pulling each wand out of the tubes to see what the formula is like and the type of brush that comes with it. I hate it when I find a gungey one where the mascara is gloopy and clumpy on the brush - that mascara won't be making an entry into my shopping basket anytime soon! I want a fat brush to give me volume, that certainly doesn't smudge and that's completely waterproof - that's when I came across The Rocket Volum' Express by Maybelline.

If you have oily skin like me (especially on the upper lids and under the eyes) then having a smudge-proof mascara is a must! I've used mascaras in the past that leave black lines under my eye, making it look like I have bags! However, this mascara doesn't seem to do that - but I still make sure to apply a primer under my eyes just in case! The volume you get from it is amazing. It glides on easily and after curling my eyelashes, it gives the effect I have falsies on!

But if you want a more natural look, I wouldn't go for this as it's very black and you may not like the amount of volume it gives (especially to your lower eyelashes!) However I'm loving this mascara so far, after only having it for a week! I'm going to keep using it and see how I get on - you never know, it could become my new favourite mascara!


What do you think of this mascara? Have you tried it?

Thanks for reading!

Thursday, 31 July 2014

Summer Nights Look


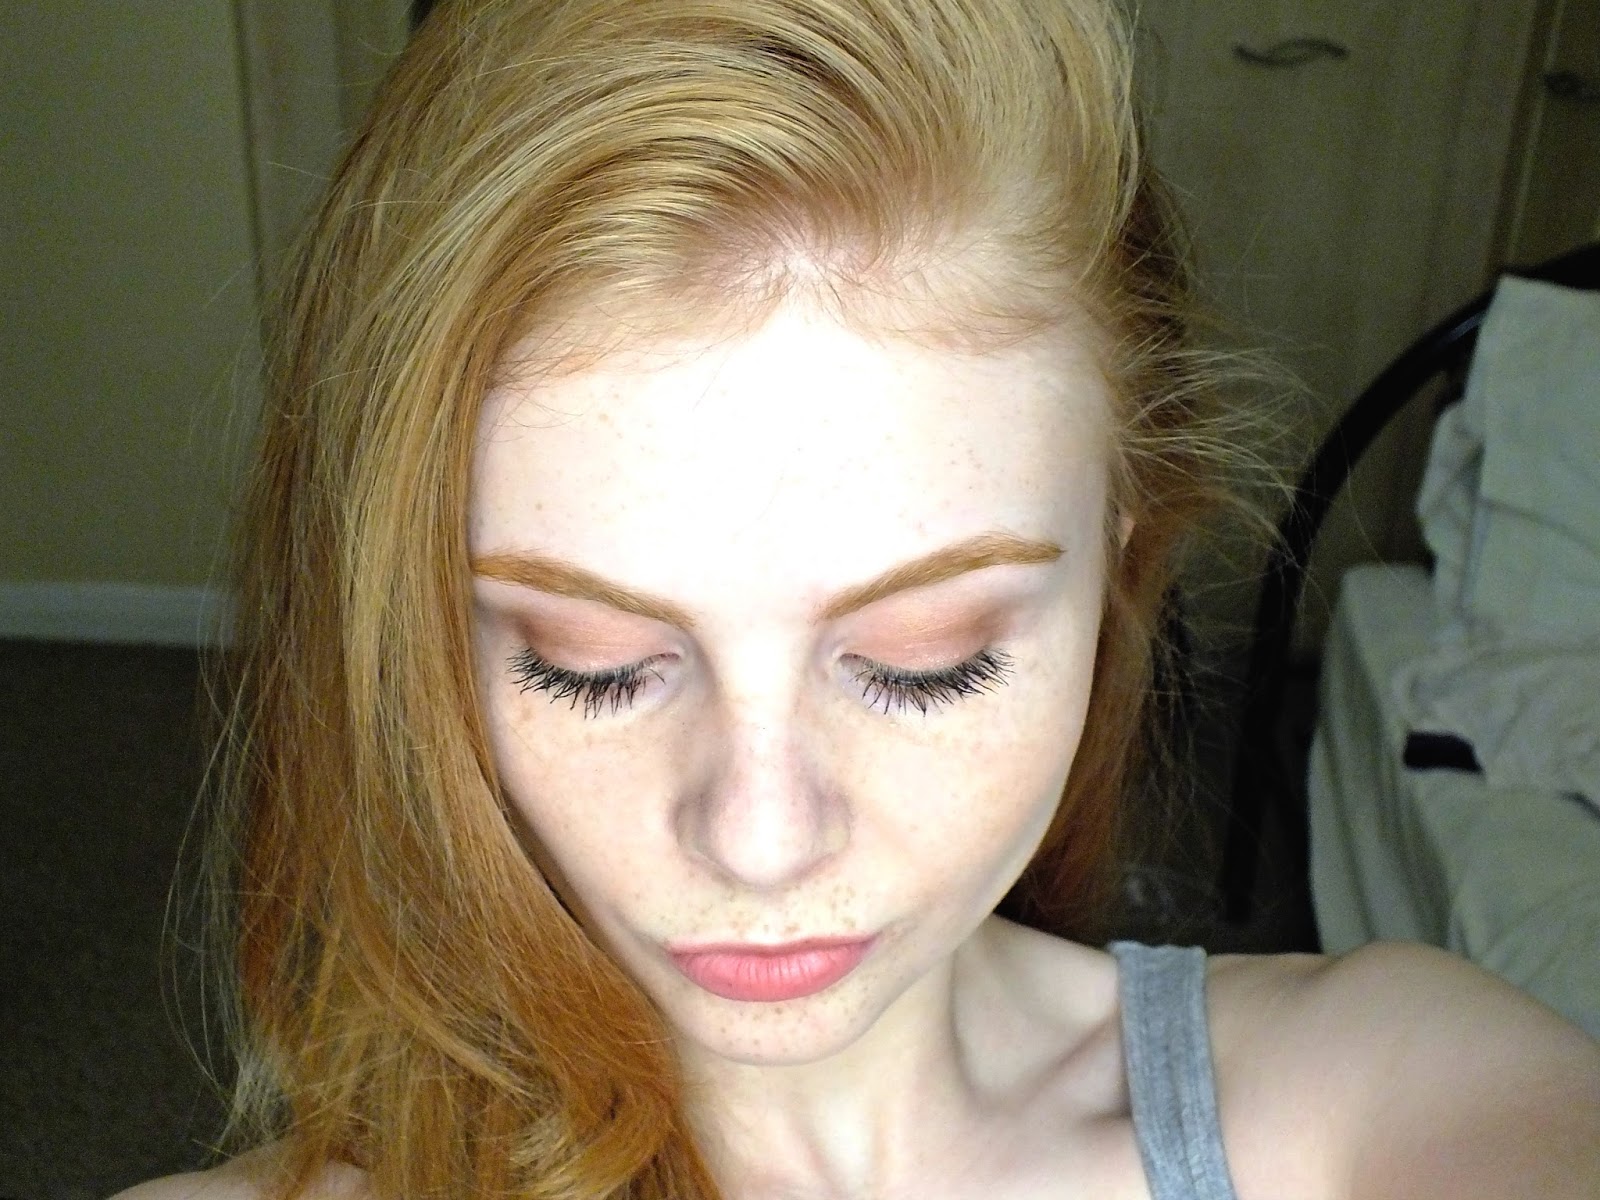
Hi everyone ... long time no see (or read!) I've seriously been lacking in posts recently, mainly due to blogger's block and enjoying the rare sunny weather that we don't normally get in the UK. But I thought I'd come back with a makeup look. My photos aren't that great but you get the jist of what the makeup look is all about - bronzed colours, resembling a beautiful summer night's sunset.


For this look, I used mainly ELF products including this gorgeous Baked Eyeshadow Palette in California. It's filled with warm, toasty colours perfect for achieving that night time sunset look. I applied the top middle colour as a base, using it all over my lid up to my brow bone. I then applied the top second colour on my lid up to my crease, followed by the bottom middle colour in the outer corner of my lid and blended. I tried to keep the look subtle, so I didn't apply the colours heavily - this palette is perfect for this as the shadows aren't extremely pigmented. I then applied the top middle colour that I used as a base in the corners of my eye and slightly under my waterline and the top second colour again under my eye. I then went ahead and applied black eyeliner along my waterline to define my eyes, followed by mascara (after curling my lashes!)


I then applied my lip stain in the shade 'Heartbreaker' which is a coral colour. I like the way it looks in combination with the eyeshadow - very summery!

Hope you enjoyed this post - I want to start doing more makeup looks (I'll just need to improve my photos hehe!)

BUY THE PALETTE HERE: 

BUY THE LIP STAIN HERE:


Thanks for reading!

Tuesday, 15 July 2014

Tips & Tricks: Itchy Skin After Shaving


If you follow me on Twitter, you may have seen a few of my recent tweets complaining about my incredibly itchy legs! It's been really uncomfortable and it always occurs a few days after shaving with a razor. I've tried various methods that I've found online and I've tried things that people in the beauty community have recommended on my Twitter. I'm going to compile a list of things that may help you if you suffer from this too, including the one thing that helps me. Many of these didn't work for me, but they might work for you so it's worth a try if it stops you from itching!

When I first complained about this, I got told to stop using a razor as I'm "obviously allergic to shaving with a razor". But I didn't want to stop as it's the closest shave I can get, pain free! That may be silly of me and sound like I'm causing it myself, which I guess I am to some extent, but I was keen to find a product out there that would give me some sort of relief, without giving up the razor and my smooth legs.

A fellow beauty blogger on Twitter recommended that I try Aveeno cream, as it's great for dry skin and eczema. It's a moisturising lotion with natural ingredients which helps soothe my skin when I apply it after shaving. The reason I like this is because it's full of natural ingredients, so it doesn't seem harmful to my skin and because it's fragrance free, it doesn't give me further unnecessary irritation. The lotion claims to "immediately relieve" the skin and moisturise it for 24 hours. It's formulated with shea butter and has a "unique active triple oat complex containing finely milled colloidal oatmeal, oat oil and oat essence" (which is one of the recommendations I found online; to find an oat-based moisturiser as it helps soothe and moisturise the skin.)

I'm not saying this has 100% made my skin better; I still get a little itchy, but it has dramatically improved the appearance of my skin - the red spotty rash has gone and the irritation is down to a minimum. It helps rehydrate my skin, providing moisture and has helped soothe my skin. Try this out if you have the same problem and let me know if it has helped you!

If this doesn't help, here are various other methods you could try to give your skin some relief after shaving:

Try changing your razor - a blunt razor could be part of the problem, as it's dragging on your skin and catching it, causing dryness and irritation.

Try swapping your shaving foam/gel for a conditioner, as you could find that it's more moisturising and easier to shave with.

Don't use a scented soap after shaving, or a scented moisturiser as the added perfumes cause your skin to become even more irritated! Try to stick to natural ingredients, like aloe vera (which is supposed to be fantastic for your skin!)

Try to shave at the end of your shower or bath, as your hairs have had time to soften and it'll help with a smoother shave.

Exfoliate before and after shaving - it gets rid of dead skin and will hopefully reduce irritation. It unclogs your pores from the shaving foam/gel you've used and helps prevent razor bumps.

Be gentle; use short strokes and don't press too hard - you don't want to get any cuts! You're only shaving your legs, not mowing a field of grass! There's no need to add pressure to the razor.

You could try shaving in the direction of your hair growth; I know you don't get the same close shave as shaving in the opposite direction, but it could help reduce irritation.

Rinse your legs with cool water afterwards, as this will help close your pores. Pat your legs dry with a towel afterwards - avoid rubbing!

Try looking for lotions and shaving foams suitable for sensitive skin - they usually say on the bottle but if you're not sure, just ask a member of staff at Boots.


I'm in no way a skin expert, these are just some methods I found on the internet that may work for you. If you still get irritated skin, maybe it's time to ditch the razor and use an alternative method of shaving. You can also visit your doctor or dermatologist who'll be able to tell you what to do!

Let me know if any of these methods worked for you; leave a comment, as it may help someone else! Also let me know what you think of Aveeno cream - it worked wonders for me!

BUY IT HERE:

Thanks for reading!

Sunday, 15 June 2014

Wish List: Wanted For Summer

There are a few luxuries I've spotted recently that I'd love to get my hands on this Summer, so I've included a few in a somewhat small wish list that I thought I'd post for today.

1. Large Yankee Candle "Clean Cotton" - £14.99
This is one of my favourite scents from Yankee Candle and I'd love to own the large version of it. I love the 'fresh' smell, which would be lovely to have in my room. The smell of the washing drying outside is a scent that I love and it has a special 'Summer' feel about it, ahh!

2. L'OrĂ©al Nude Magique Blur Cream - £9.99
I've seen quite a few bloggers rave about this product recently and if you've been reading my posts, you'll know that I've swapped my foundation for a much lighter coverage; BB cream! I've heard that this could even be as good as Benefit's Big Easy (which is the cheaper alternative I've been looking for!)

3. The Body Shop "White Musk" Eau De Parfum - £13.00
I asked my friend the other day what perfume she was wearing because I loved it! She said it was this one, so we went into The Body Shop and had a look round the different fragrances. The range of fruity, floral perfumes that are lined up on the shelves makes it nearly impossible to choose just one. I think I'll be buying a few of these very soon (or ask for them for my birthday hehe!)

4. Large Yankee Candle "Pink Sands" - £19.49
Another Yankee Candle! This one smells so sweet and has a 'beachy' smell about it, which is why it's in my Summer wish list! I only ever see Yankee Candles now and again (usually in House Of Fraser or little boutique-type shops!) This would make the perfect gift for a friend's birthday if it's in the middle of Summer!

What's on your Summer wish list?

Thanks for reading!

Friday, 6 June 2014

Heated Rollers: Big Bouncy Curls


I absolutely love using these rollers when I'm going out; I love the volume and the slight curls that I get from them. They're also really easy to use and do most of the work themselves, as they're heated (you don't have to sit there with a hairdryer and an achy arm!) 

You get eight large rollers (which I tend to use on my top layers to give volume at the root), six medium rollers (which create a slight wave with volume) and six small rollers (which give a volumised, tighter 'springy' curl). You also get plenty of metal pins for using on every size roller to help keep them in place and ten black clips (which I use on the large rollers!)


After getting out of the shower, I left my hair in a towel so that it wasn't dripping wet and I ran a handful of Andrew Barton I Love Volume Volumptious Mousse through the full length of my hair, roots and all. I then made sure to spray my Andrew Barton Heat Defence through, as I was going to be using the rollers on the highest heat setting. I then roughly blasted my hair with my hairdryer, until it was about 90% dry (but still quite damp in places). I find that it's best to use these rollers when your hair is only slightly damp, as the heat from the rollers dries the rest of your hair, giving a more volumised look (and it also tends to hold for longer).


I put the rollers on the highest heat setting as my hair's quite long and thick, so make your best judgement on what setting to use depending on your hair type. When they're fully heated, (which only takes a few minutes) the dot on the roller at the front will turn white, which means they're ready to use. It usually takes me around 10-15 minutes to place them all in my hair, using the large rollers first and working my way to the bottom layer of my hair, reducing the size of the roller. 

I place the largest rollers on the top of my head, winding my hair backwards towards the crown. I find that it gives me more volume when I wind my hair back instead of working around my parting, as then when you take them out, your hair has a lift. 

I made sure to use all eight of the large rollers, securing them with the large butterfly clips that are included in the set. I then used the medium rollers and then the smallest ones, placing them around my head using the metal clips (which you place around the roller and then push to the side). I then leave them in for a few hours to allow my hair to dry (just because I like to, feel free to take them out when they're cool!) A few weeks back, I posted a photo of the result on my Instagram here.


After a few hours, I take them out from the bottom first (but I don't 'pull' them out; I gently unwind them!)


As you can see, here is the result of the small roller. After I've taken all of the small rollers out, I gently run my fingers through them to slightly loosen them up. I also back-brush them a little bit and spray with a bit of hairspray.


I've now taken the medium rollers out, leaving me with more volume and waves.


Sorry about the bad quality photo (and my dirty mirror hehe!) But here is the result of the large rollers; I love the volume! I run my fingers through and back-brush after taking each layer of rollers out, before spraying with hairspray.


Here is the overall result; a mixture of volume and curls. I really recommend buying these rollers - they're great, especially if you have layers! They're also very versatile; you can create a totally different look every time depending on how you put them in and which rollers you use. After running my fingers through, I sprayed some hairspray to make sure they would last throughout the night and GUESS WHAT?! They did!


I hope you enjoyed this post; picture overload!!
What do you think of heated rollers?

Thanks for reading!